

Whether you read our review of the Android HD2 and were compelled to buy one yourself or already have an HD2 and getting bored by Windows Mobile with it’s lack of games and were looking for some Android action we’ve got you covered with a full guide after the break.
First, we’ll start out by saying that Android can’t damage your phone. It’s harmless, at least in it’s current form as it runs from the SD card and not on the device’s on-board flash memory. These are instructions anyone can follow with little prior knowledge and have varying degrees of success. If you fail the first time don’t give up – keep trying and eventually you’ll have success.
Second, if you plan on using this as your primary everyday OS on your device prepare for a little adjustment at least at first. Since there’s no search button some functions can’t be searched through if they don’t have on-screen search buttons. Also another problem we’ve experienced, and seems to be a problem across the board is that when install large apps and games require SD card access or are too part to be put on the phone storage you must use a work-around. To install large games and apps you must unmount the SD card through the settings menu, go back to the market, install the app and just back to settings to remount the app when it’s done. Small problems like these persist throughout these builds and some have more issues than others. Many of these problems can be fixed by installing a different rom file- we’ll get back to that in just a minute. Running from the SD card isn’t all bad news however because it allows you to run different builds at will by just renaming them to “Android” (without quotes) on the root of your SD card and launching HaRet.EXE from within it.
Which brings us to our next point, Android is very stable, however with a custom rom (XDA) stability can be significantly improved. An issue worth mentioning is that without a custom rom some users may experience a “robotic voice” effect when calling landline phones. If this is an issue for you installing a custom rom may fix these issues and it’s almost as easy as installing Android on your phone.
Lastly, you’ll need a large class 4 or faster microSD card to run Android. The supplied 16GB class 2 card just isn’t fast enough for running the operating system. Limitations in HaRet, the tool used to boot Android and other Linux variations (like Ubuntu Linux) limiting it’s use to the SD card only. NAND flashing an Android rom is apparently working right now but it’s still flaky and beta and may brick your phone. We do not recommend that procedure until it reaches a level of stability and safety seen in many ROMs.
Tutorial
In our HD2 review we used a Sense HD build, ported from the Desire HD walkthrough we did (found here) and a Sense build, ported from the EVO 4G (found here). Sense HD builds currently lack support for the camera and still have problems establishing reliable mobile data connections which leaves it mostly for testing purposes. WiFi works but other issues may persist and as such we have to recommend the latter over the former unless you know what you’re doing and need the latest and greatest. We recommend that you try as many builds as you’re interested in as all builds install the same way. These instructions are effective for all builds and exploring XDA to find what works best for you is important if your having problems with the builds we suggested or are just curious. You may find this necessary because all builds have the potential to run differently with different hardware, even if it’s only the serial number.
Now that you’ve got a build you need a fast micro SD card. We recommend Transcend 8 GB Class 6. It works well in our experience and sustains around 4-5 MB/s transfer rates, suitably fast for Android. When you’ve got your SD card make sure to format it in Windows when connected at default allocation size.
While running in mass storage device mode (meaning connected to your PC with mount as disk mode selected) unzip/unrar the build to your desktop. When that’s done copy the folder “Android” directly to the root of your SD card, or the main folder when you select it in My Computer. When it’s done transferring disconnect the USB cable and open the file explorer in Windows Mobile and find the folder “Android”. Double-tap on the white box icon, an application known as CLRCAD that provides audio and then launch HaRet.exe.
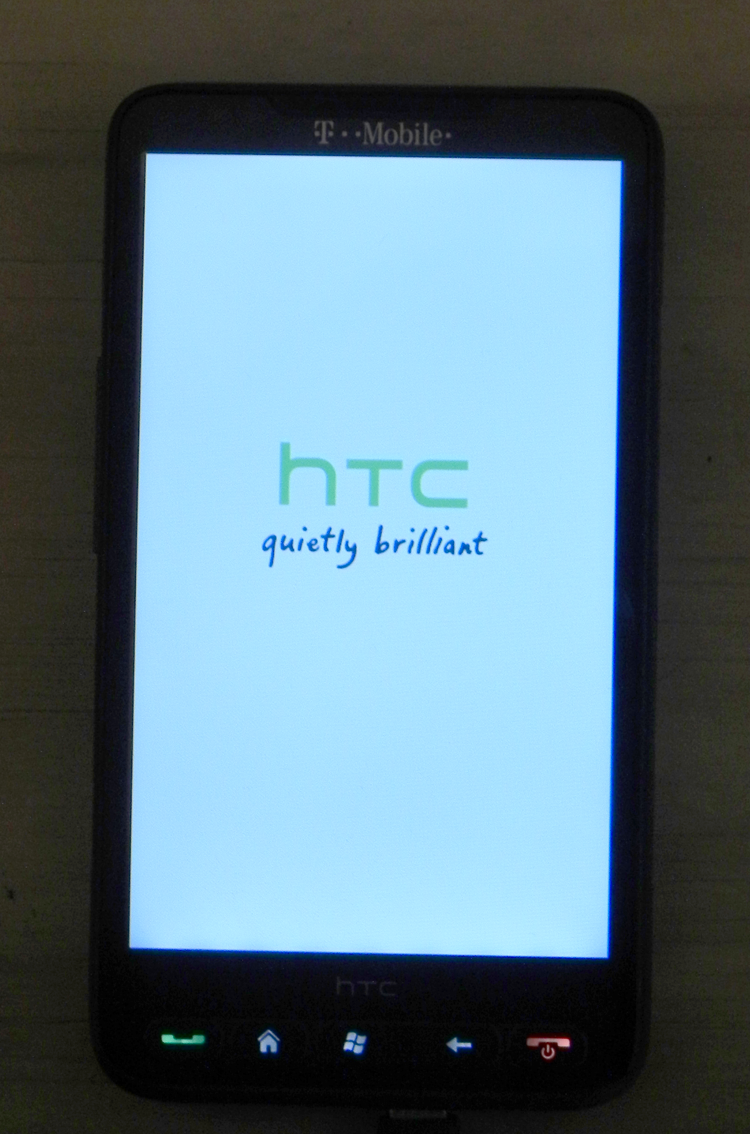
Don’t be alarmed at the screen you see when you boot! Some builds display a kind of static, damaged looking image on the screen followed by a large amount of scrolling text command-line style. If you have issues with Android this is likely where it’ll halt and an error is generated. You’ll never need to worry about this text or the static on the screen or understand them just know that they aren’t dangerous and are there purely for displaying errors and status.
When the Android lockscreen eventually loads up after building the data.img file (which can take a while) enter all your accounts/sync/time/settings in the initial setup screen. Now, and this is important – Restart your phone before using it any further. Not doing so may cause damage to the build and possible operating system corruption that needs to be fixed with a format of the SD card.
Android is now up and ready to go on your HD2. Remember that whenever you want to jump between Android builds it’s easy to do so. From the file manager rename a folder to “Android” (just as written) and you can. This really makes experimenting with different builds much easier and less tedious. Just remember – don’t use the same data.img – doing so will cause everything to fail including all your apps. In the event that something should go wrong you also always have the option to jump back into Windows Mobile to figure it out, change builds or whatever you need to do to make it run.
Install an Android compatible ROM (T-Mobile USA version)
If you’re having issues that persist across all builds like robotic voices in calls, screen freezing when the phone is flipped over or the death when locked issue you may need to install a new custom ROM file on your phone. ROM files are the operating system, drivers and all the important software on your phone and following these instructions may leave you with a brick instead of a phone. Don’t blame us for damaging your expensive smartphone if something goes wrong. Remember – this is for informational purposes only. XDA has a more thorough tutorial we can recommend if you find this to be too brief.
First, assuming you run Windows install Windows Mobile Device Center if you don’t already have it on your computer. Next, download HSPL 3.0 from XDA Developers. HSPL is the tool that lets custom ROM files install on your phone and is essentially the tool that ‘hacks’ it. When WMDC is installed enter ActiveSync mode on your phone with the USB cable connected and launch the .exe file from your computer. Since this is the most dangerous part of the installation make sure not to disconnect your phone while it or the ROM are installing. You should see the message “We hacked it :)” on your phone and your computer when it’s done.
After HSPL3 is successfully installed you’ll need to pick a ROM file as a base. Generally, the more stable the ROM file the more stable Android will run on top of it. We recommend Kumar’s Rom and Miri’s Rom. Both have greater support for Android then the stock ROM file does and should fix many of the issues you may be having with Android. Kumar’s ROM also comes with a handy boot-loader application that gives both options for booting to Android and stopping WM Sense from starting and an option to continue into Windows Mobile. When you have the new ROM file installed you can follow the instructions above in the tutorial as nothing has changed.
If you’ve followed these instructions and had success with putting Android on your HD2 (or failures) let us know by posting in the comments below!