
Ever since an unnamed ape started throwing barrels at an unlikely hero called Jumpman, graphics have been a core part of the video game experience.
With a very small number of honorable exceptions, video games are a visual medium, prized as much for their looks as for their gameplay. That’s why Donkey Kong and Mario don’t look anything like they did in 1981.
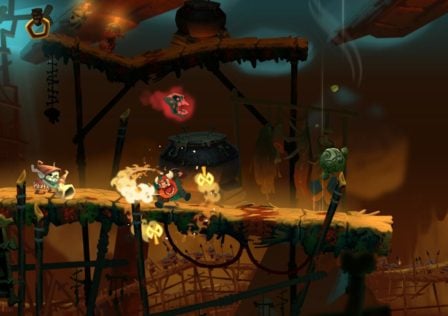
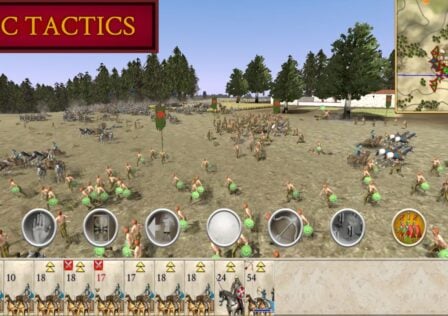
Whether a game uses a nostalgic pixel-art aesthetic or the kind of hyper realistic 3D graphics made possible by the latest advances in GPU technology, the way a game looks has a huge impact on the mood it creates and the experience it provides.
But how are these visual worlds created? Technology is complicated, and most of us don’t spend much time thinking about the nuts and bolts of Hyrule’s gorgeous vistas or the immaculate cartoon presentation of Cuphead.
If you want to carry on not thinking about it, feel free to go back to playing Mobile Legends (and don’t forget to buy Mobile Legends Diamonds to keep yourself competitive).
For the curious among you, here’s a brief account of how video game graphics are rendered.
Stage 1: Elements Assemble!
A huge amount goes into creating a virtual world, involving countless creative decisions, complex project management, and vast teams.
Much of their work entails sourcing a variety of elements and then combining them in the final product. These elements include 3D or 2D models, textures, UV maps, materials, shaders, and animation.
Making most games would be impossible without the middleware developers who make the various ingredients that go into a game, but it still takes untold amounts of time and effort to bring these elements together in a cohesive world and make them interact with each other.
Stage 2: Scene-Setting
Once all of the elements have been decided, they need a place to exist: a scene to play in. That’s where the game engine comes in.
There are several different game engines on the market, many of which you’ve probably heard of. They include Unity, Unreal, Godot, and a ton of others, all with their own strengths and weakness in terms of cost and effectiveness.
When it comes to rendering visuals, there are a couple of key considerations to take into account: lighting and cameras.
A virtual space just won’t look right without a dynamic lighting model that reacts to the movement of the objects on the screen and, where appropriate, picks out the characteristics of different textures and surfaces.
The camera, meanwhile, is what determines what appears on the screen. Just as in film-making, camera placement can make or break a piece of gameplay or a cut-scene, whether it’s first person, third person, isometric, top-down, or whatever.
Stage 3: The Render Pipeline

While it might sound like a piece of equipment you’d find on a construction site, the render pipeline simply describes how the image is drawn on the display.
It begins with Vertex Processing, a GPU process that transforms each vertex in the 3D model into a point on the screen and tells the engine what to display and what to conceal.
Then comes Rasterization, which converts 3D objects living in your computer’s imagination into 2D pixels that can be displayed on your 2D screen.
Finally, there’s Fragment Shading. Once an object has been formed, each pixel receives the color and lighting information it needs in order to fulfil its role as a tiny fragment of a sprawling, aesthetically pleasing spectacle.
The entire process is incredibly complicated, of course, involving concepts and terms we haven’t even considered touching on. But this brief overview should give you a rough idea of what goes into making your favorite games look so damn pretty.